One of the main items I have found prior to beginning any project that does not involve a set pattern is that the tie must be planned out. With the increased cost of materials and also the difficulty in obtaining them - planning is the key to prevent unnecessary waste. With this in mind - most times the project begins with a pencil drawing of which changes can be made without sacrificing materials. From there the tying begins. Below are the steps I took to create the fly above of which I titled "Marilyn"
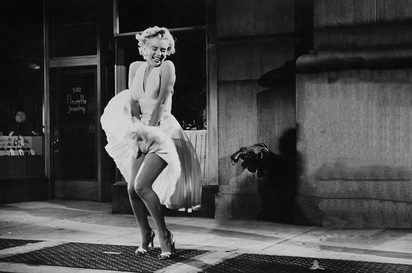
This historic image of Marilyn Monroe was my inspiration for this project.
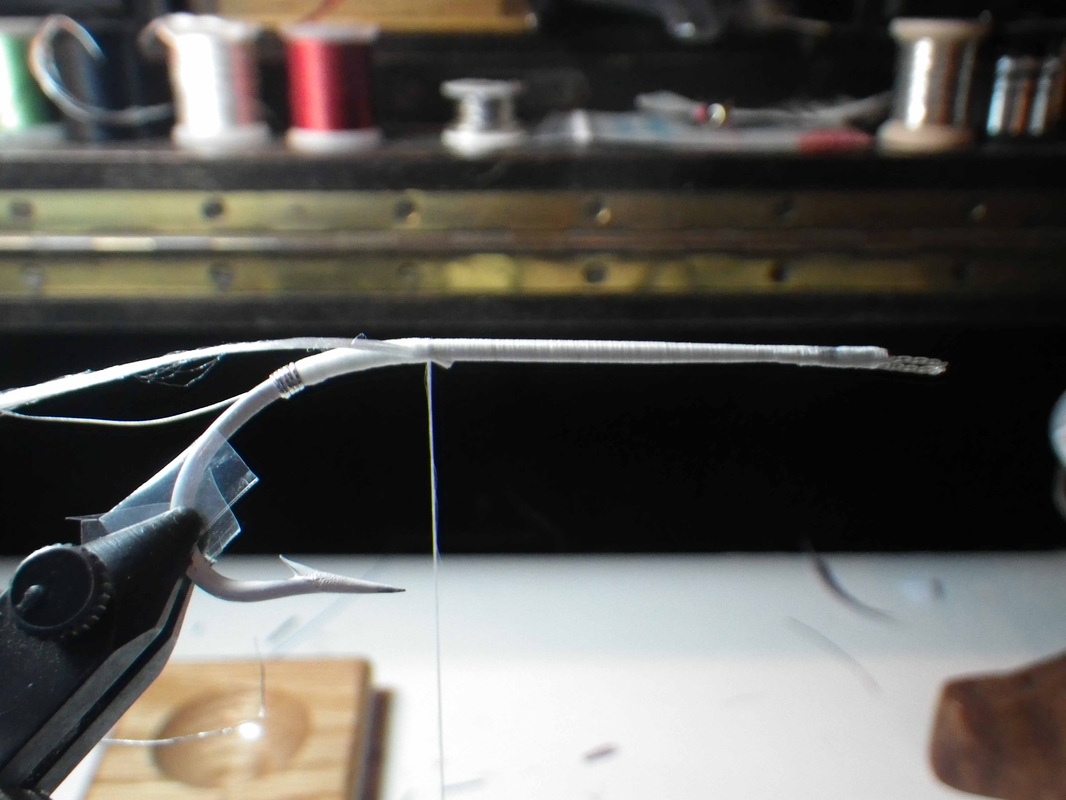
Following a powder coat of white on the hook, The tag end of silver tinsel was tied on along with the silk floss.
Four married segments of white goose shoulder were then tied on in front of the tail. Each segment consisted of 6 barbs each.

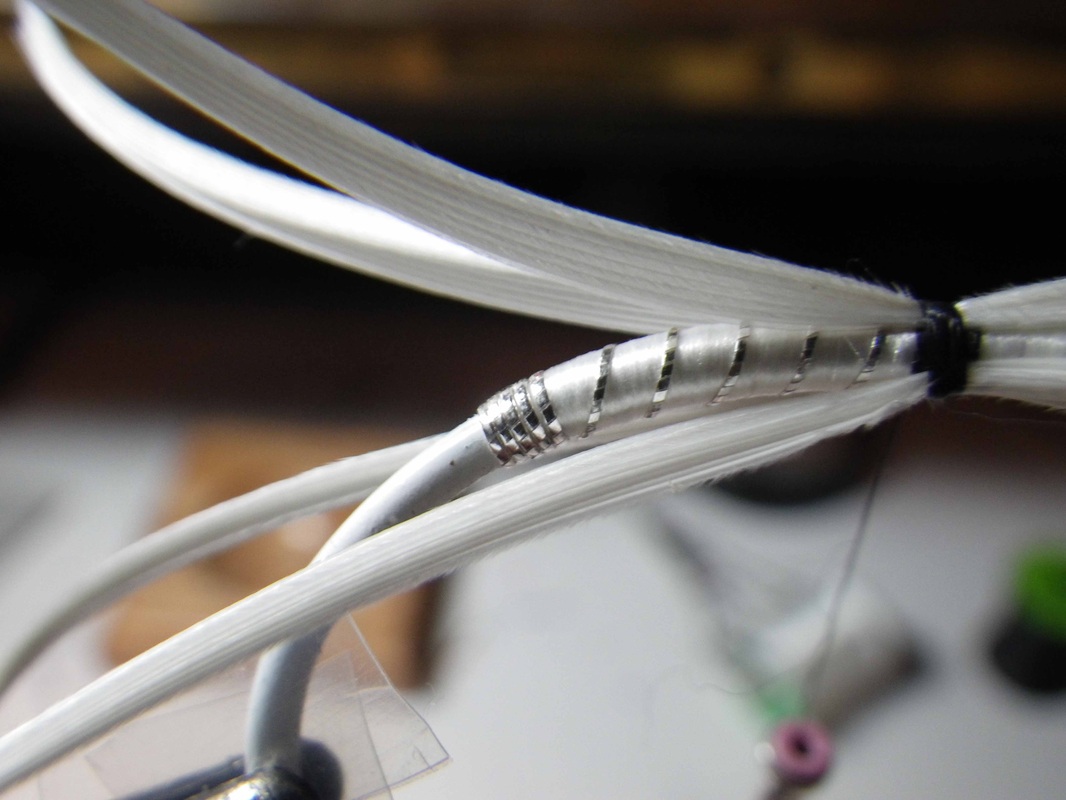
The process continued as the tie progressed to the front of the hook. silver tinsel, wire, golden pheasant tippet, and more white goose segments were added.

With each segment on the body, dyed peacock herl was used as the butt. When the eye of the hook was reached, careful trimming with a razor was necessary to achieve a neatly shaped head.

The finished product.
